
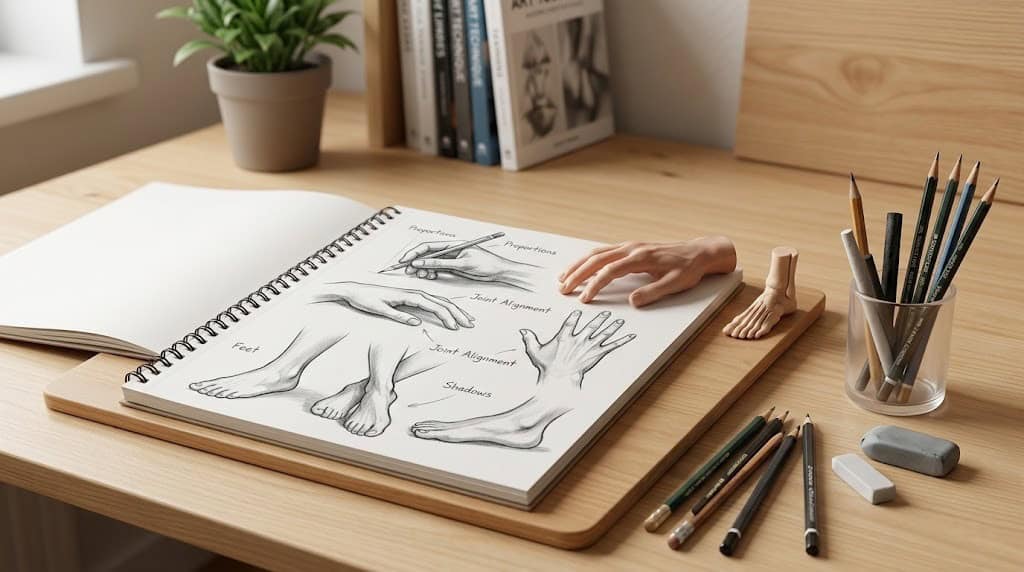
Drawing Hands and Feet: A Complete Beginner’s Guide
Drawing hands and feet can feel intimidating, especially for beginners. Unlike other parts of the body, hands and feet are incredibly expressive, and even subtle mistakes in proportion or perspective can make them look awkward. However, with the right techniques, practice, and understanding of anatomy, anyone can learn to draw realistic and dynamic hands and feet. This guide will walk you through step-by-step tips, common mistakes, and exercises to improve your skills.
Why Hands and Feet Are Challenging to Draw
Hands and feet are complex structures made up of bones, muscles, tendons, and skin. Unlike the torso or head, they contain many small segments that can move independently, allowing for endless poses. Beginners often struggle with:
- Proportion – Fingers and toes can easily become too long, too short, or uneven.
- Perspective – Foreshortening (when parts appear shorter because of the viewing angle) can be tricky.
- Anatomy – Without understanding the underlying bones and muscles, drawings can look stiff or unnatural.
Mastering hands and feet requires patience, observation, and consistent practice. Let’s break it down step by step.
Understanding Anatomy
The Structure of the Hand
The human hand consists of 27 bones:
- Carpals – 8 small bones forming the wrist.
- Metacarpals – 5 bones forming the palm.
- Phalanges – 14 bones forming the fingers (each finger has 3, except the thumb with 2).
Knowing this structure helps you visualize the hand as a combination of blocks and cylinders, which is essential for realistic drawing.
Tip: Think of the palm as a slightly curved rectangle and the fingers as cylinders connected to it.
The Structure of the Foot
The foot has 26 bones, organized as:
- Tarsals – 7 bones forming the ankle and heel.
- Metatarsals – 5 long bones forming the middle of the foot.
- Phalanges – 14 bones forming the toes.
Like the hand, the foot can be broken down into simple shapes. The arch of the foot, heel, and toes are the main areas to focus on for proportion.
Tip: The foot is like a wedge: a broad heel tapering to narrower toes.
Step-by-Step Guide to Drawing Hands
Step 1: Basic Shapes
Start with simple shapes:
- Draw a rectangle for the palm.
- Add cylinders for each finger, making sure the thumb is positioned correctly at an angle.
- Keep finger lengths in mind: the middle finger is usually the longest, and the pinky is the shortest.
Step 2: Add Joints
Mark the knuckles and finger joints with small circles. This will guide finger bending and positioning.
Step 3: Outline the Hand
Connect the shapes with smooth lines, following the contours of the fingers and palm. Focus on curves rather than straight lines for a natural look.
Step 4: Add Details
Include fingernails, creases on the joints, and subtle skin folds. Avoid overdoing details, as simplicity often looks more natural.
Step 5: Practice Different Poses
Hands are dynamic. Practice:
- Open hands
- Closed fists
- Side views
- Pointing or gripping
Using reference photos or even your own hand can greatly help.
Step-by-Step Guide to Drawing Feet
Step 1: Start with the Outline
Draw a wedge shape to represent the overall form of the foot. Mark the heel and the ball of the foot.
Step 2: Add Toes
Divide the front into five sections for the toes. Remember:
- Big toe is the largest.
- Other toes gradually decrease in size.
- Toes are not perfectly straight; they curve naturally.
Step 3: Draw the Arch and Ankle
Connect the heel to the toes with a gentle curve to form the arch. Sketch the ankle as a cylinder above the heel.
Step 4: Refine the Shapes
Smooth out lines, add toe separation, and adjust proportions. Don’t forget the subtle curves along the top of the foot.
Step 5: Add Details
Include nails, tendons, and skin folds. If the foot is barefoot, you may add wrinkles near joints. For shoes or socks, focus on volume and shape.
Common Mistakes to Avoid
Hands
- Stiff fingers – Fingers should bend naturally, not remain rigid.
- Wrong proportions – Check that fingers gradually decrease in size.
- Ignoring perspective – A hand pointing toward the viewer requires foreshortening.
Feet
- Flat soles – The arch of the foot is essential for realism.
- Uniform toes – Avoid drawing all toes the same size or shape.
- Neglecting ankle structure – The foot connects to the leg, so ignoring the ankle can make the drawing look detached.
Tips for Improving Your Skills
- Use References – Study your own hands and feet, or use photo references.
- Break Down Shapes – Simplifying complex structures into basic shapes makes drawing easier.
- Draw Daily – Consistent practice is more effective than occasional long sessions.
- Study Anatomy – Understanding bones and muscles improves accuracy.
- Experiment with Poses – Draw hands and feet in action to develop flexibility and confidence.
Exercises for Beginners
Exercise 1: Gesture Drawing
Draw hands and feet quickly in 30–60 seconds. Focus on movement and proportion rather than details. This helps build fluidity.
Exercise 2: Shape Simplification
Draw hands and feet using only basic shapes: rectangles, triangles, and circles. Then refine the forms into realistic shapes.
Exercise 3: Contour Drawing
Draw the outline of your hand or foot without lifting your pencil. This develops observation skills and understanding of contours.
Exercise 4: Mirror Drawing
Draw both your left and right hands or feet. Compare symmetry and proportional differences.
Exercise 5: Perspective Practice
Draw hands and feet from different angles—overhead, side, foreshortened. Use reference photos to see how proportions change.
Tools and Materials
While you can practice hands and feet with any medium, some tools make learning easier:
- Pencils – 2B or 4B for sketching, HB for light lines.
- Erasers – Kneaded erasers allow subtle corrections.
- Sketchbook – A dedicated sketchbook encourages daily practice.
- Digital Tools – Tablets and apps allow layers and undo, useful for experimenting.
Advanced Tips
- Focus on Lighting and Shadows – Shadows add depth and make hands and feet look 3D.
- Study Muscles and Tendons – Observing how muscles shift when moving enhances realism.
- Practice Dynamic Poses – Hands gripping objects or feet walking add storytelling elements to your art.
- Use Negative Space – Observe the shapes between fingers and toes to improve proportion.
Conclusion
Learning to draw hands and feet is a gradual process that combines observation, anatomy knowledge, and consistent practice. Start simple, focus on shapes and proportions, and gradually add detail and complexity. Remember, mistakes are part of learning—every sketch improves your understanding of form and movement. With dedication, patience, and the right exercises, even beginners can master the art of drawing hands and feet.
