Mastering Pencil Shading: Tips and Tricks
Pencil shading is an art form that has captivated artists of all levels, from novices to seasoned professionals. It’s a technique that adds depth and realism to drawings and imparts a wide range of textures and effects.
In this comprehensive guide, we will explore various pencil shading techniques and provide valuable tips to elevate your artistic skills. Whether you are just starting or looking to refine your shading abilities, these insights will help you master the art of pencil shading.
Understanding Pencil Grades
Before we delve into the world of shading techniques, let’s first grasp the significance of pencil grades. Pencils come in various grades, each indicative of its hardness or softness, primarily determined by the clay and graphite content in the lead. The most commonly used pencil grades include:
- HB (H2): Positioned right in the middle of the hardness scale, HB pencils serve as a versatile choice for sketching and shading.
- B (2B): Softer than HB, B pencils excel at shading and producing darker values.
- H (H2): Harder than HB, H pencils are ideal for creating lighter values and intricate details.
- 2B, 4B, 6B: Pencils with higher numbers, like 2B, 4B, or 6B, are softer than B and are excellent for achieving deeper values and richer textures.
Understanding the differences in pencil grades is the foundation upon which your shading skills will flourish.
Pencil Shading Techniques
A variety of pencil shading techniques exist, each offering a distinctive appearance and feel to your artwork. Here are some of the most widely recognized shading techniques:
Hatching
Hatching involves drawing parallel lines to create shading. The closer these lines are to each other, the darker the shading becomes. Hatching is remarkably effective in adding texture and depth to your drawings, and it is applicable to a wide range of subjects.
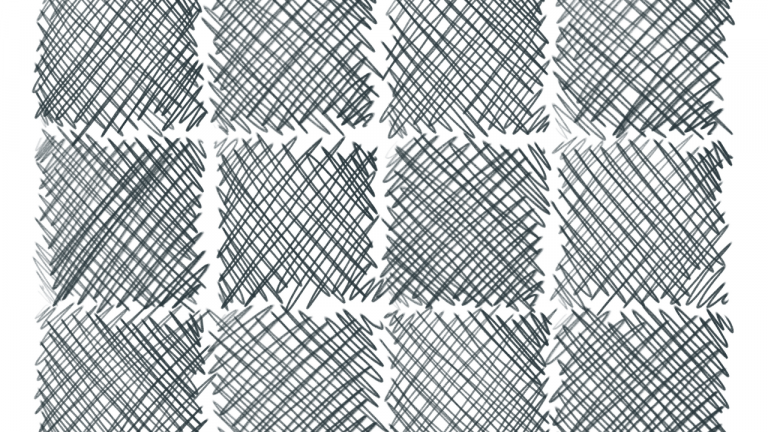
Cross-Hatching
Cross-hatching differs by incorporating intersecting lines to produce shading. The more lines you add, the deeper the shading becomes. Cross-hatching is particularly useful for achieving a sense of volume and texture in your drawings, and it can be applied to various subjects.
Circulism
Circulism involves creating shading by drawing small circles. The more circles you add, the darker the shading becomes. This technique is exceptional for achieving smooth and even shading and can be employed for shading diverse subjects.
Contour Shading
Contour shading is distinct as it follows the contours of an object to create shading. It excels at providing a sense of depth and volume to your drawings and can be applied to a wide range of subjects.
Pencil Shading Tips and Tricks
To enhance your pencil shading skills, here are some valuable tips and tricks to consider:
Experiment with Different Pencils
Artists can vouch for the fact that different pencils create unique marks. Experiment with various grades and brands to discover which pencils work best for your specific needs.
Create Different Types of Shading
Combining different shading techniques can produce an extensive array of textures and effects. Try mixing hatching with cross-hatching or circulism with contour shading to find what suits your subject the best.
Utilize a Blending Tool
Blending tools like paper stumps or tortillons can facilitate the creation of smooth and even shading while blending different shades seamlessly.
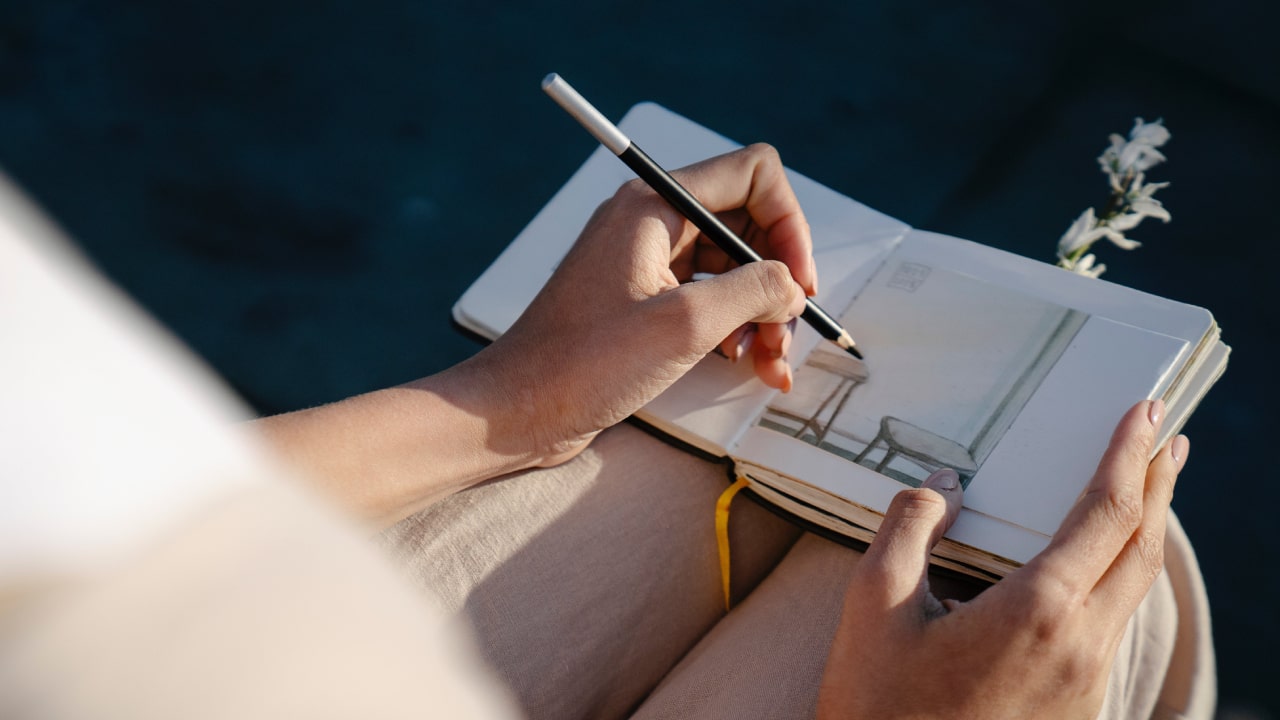
Practice, Practice, Practice
Mastering pencil shading requires dedication and practice. Do not hesitate to experiment and make mistakes along the way. The more you practice, the more proficient you will become. Here are some tips to help you practice effectively:
- Create Shading Exercises: Draw a row of squares or rectangles and practice shading them from left to right, experimenting with different shading techniques.
- Begin with Lighter Areas: Start shading from the lightest areas of your subject and gradually work your way to the darker areas. This ensures a smoother transition and more professional-looking shading.
- Vary Pencil Strokes: To add depth and texture to your drawings, vary the length and pressure of your pencil strokes. This simple adjustment can significantly impact the quality of your shading.
- Optimal Pencil Position: Hold the pencil sideways to maximize the area of the tip in contact with the paper, creating smoother shading.
Conclusion
Pencil shading is a fundamental skill for artists, and by honing these techniques and following the provided tips, you can elevate your drawings to extraordinary levels. Embrace experimentation with various pencils and shading techniques, and do not fear making mistakes. With dedication and patience, you can craft stunning, realistic drawings that showcase your skills and creativity!
Written by: DJMM